One of the benefits of being married to a farmer is that I have coffee containers downstairs that are filled with dry beans. I realize that dried beans really aren't that expensive, but it makes for great food storage, and my husband is always bringing me beans home in the fall.
His favorite bean recipe is by far Maple Baked beans.
Earlier this year, my husband and I spent a couple months apart, while he started his new job and I stayed back with the kids while they finished school up for the year. Having this homemade food all prepped and ready for him was a huge source of comfort for him. I always make sure to keep some on hand.
Of course the first thing we need to do is pull out the bad beans and dirt clods...and some nightshade of course.
I then cover the beans in hot water from the tap, make sure to put a lot of extra in there to account for the beans swelling. I then set them in the fridge over night.
Drain and rinse the beans again. I cooked up 1/2 a pound of bacon and dumped off the grease (you don't have to cook the bacon, but if you do, the grease can be dumped off and not end up as a layer in the top of your jar). For the approximately 1 pound of dry great northern beans (pintos work too), I started with one 12 oz container of pure maple syrup, about a tablespoon of dry mustard, 1 chopped onion, and a couple teaspoons of salt. I goofed up here and used iodized, but in this case, the iodine will not cloud the jar any more than the beans, so it really won't hurt anything. I then covered the beans in homemade broth (canned works too as long as it's real broth and no starches/bad ingredients have been added). You could also just use water if you would like to be more thrifty. I covered the beans and placed them in the oven at 250.
I checked them often, and made sure the beans stayed submerged. At some pointed I added a little more maple syrup and a handful of brown sugar.
This took all day, so the canning took place another day. I have the toughest time getting beans to soften up, but no worries, they will soften up the rest of the way in the jars.
The next day I heated the beans back up so that there would be no problem with temperature shock breaking the jars. I started up my pressure canner.
Go ahead and fill the jar with beans making sure to leave ample liquid as the beans will continue to expand in the pressure canner. Leave 1 inch of space between the top of the jar and the top of the products in the jar since we are pressure canning.
The cool thing about this "recipe" is that it is all homemade, but that means there are no processing times to reference then. No worries, when using a pressure canner, just look up the ingredients that are in the mixture, and process for the highest time.
Dry beans get processed 1 pint for 1 hour 20 minutes.
Meat in pints gets processed for 1 hour and 15 minutes.
Choose the highest process time, and that's the one you will use. So today I will can for 1 hour and 20 minutes.
Again, referencing my Ball Blue Book, I need to adjust my pressure to 15 pounds because I'm at 5k feet and I'm using a weighted canner.
I vented the canner (again, once the steam is coming out in a stream, I start the timer for 10 minutes and THEN add the weight after the time is up). I processed the jars for 1 hour and 20 minutes.
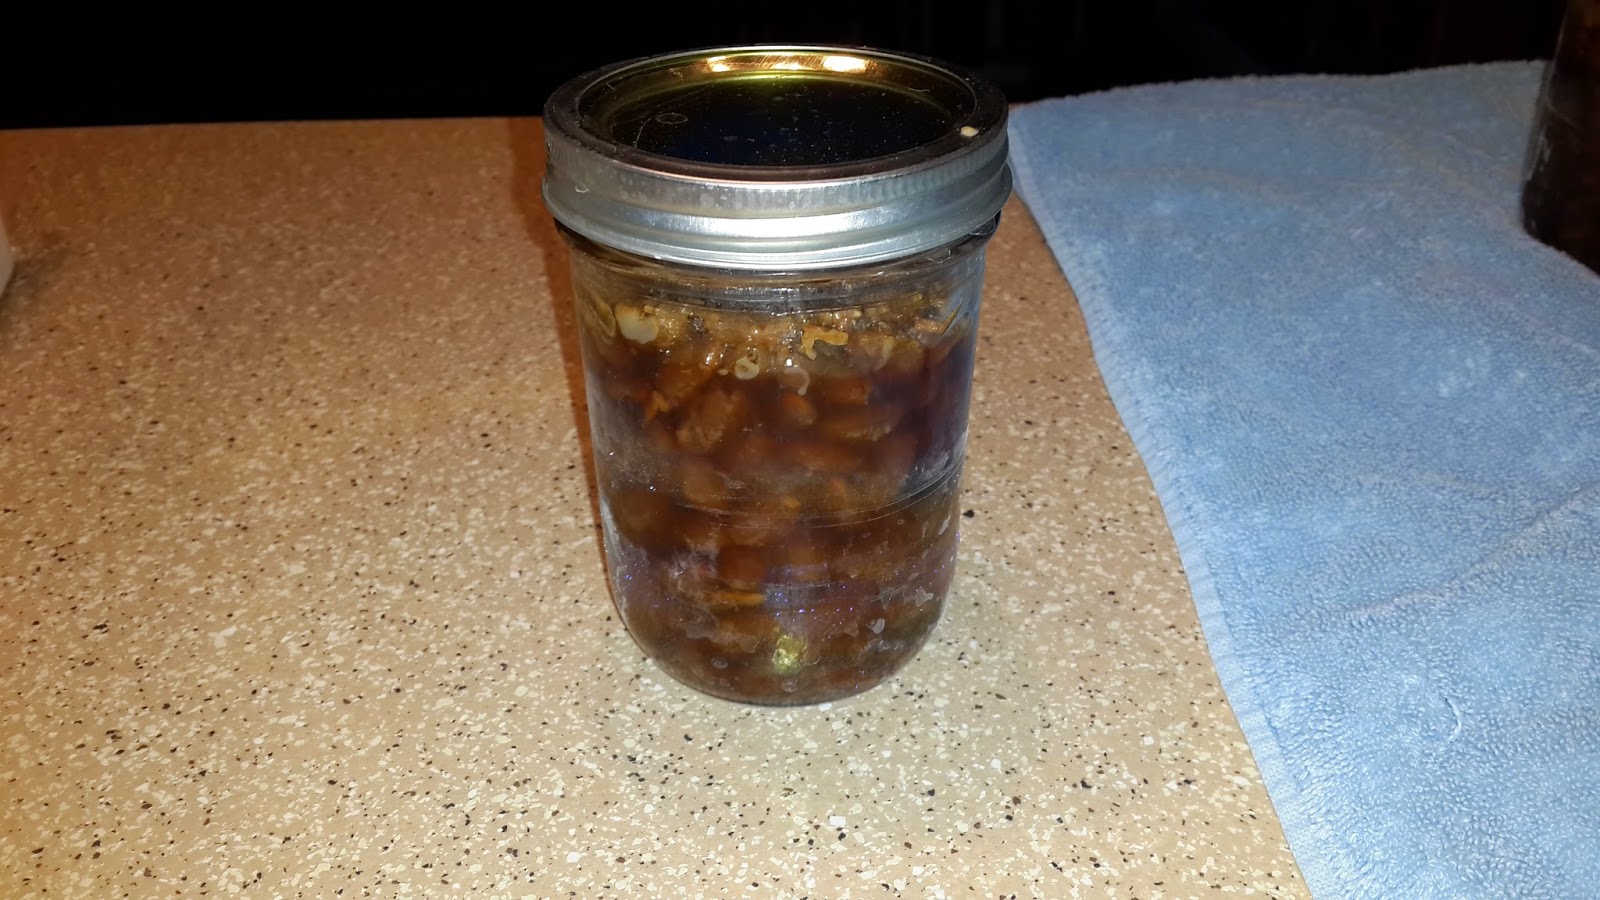
As you can see, the beans have expanded, and they are touching air (no longer covered in water on the very top). Since they were properly canned, this will not affect the product. Had I not made sure there was enough liquid, the beans would have filled the space, no liquid would have been left, and then that would not be a good canned product. Next time I will leave a bit more.
This recipe is sweet, slightly smokey (from the bacon and the caramelization of the sugars in the syrup). If you open the jar and desire a bit more sweetness, you can always add a bit more then.
Why go through all this week? Well, you can't find beans like this in the store is number 1. Secondly, dry beans in food storage don't do me much good if we don't have power and running water in an emergency situation, and canning my own food means that I have control over the finished product.
I hope you try this "recipe." Let me know what you think!
'Til next time,
-Sue


No comments:
Post a Comment