After doing some web searching, I found that there is a such thing as a reusable/washable sandwich bag. They are adorable, and can be thrown straight in the washer when you are done with them. Sweet. The price? Only about $15 for a bundle of three.
So, I started hunting down alternatives, and I ended up making some. There are more days in the school week here, so I needed to make some more to last the week. I thought I would share the process with you.
You are going to need either a sewing machine, a needle and thread, or a serger for this project. It's up to you. I prefer serging (it's fast), but the sewing machine does turn out some awfully cute bags.
You are going to need a material called PUL (you can find this at a fabric store, I found mine at JoAnns). Basically, PUL is a laminated fabric. This will allow your bag to be water-resistant and air-resistant. If you put a sandwich in, it will not dry out easily. If you put baby carrots in, they won't spread moisture to the rest of the lunch contents.
You are going to need some basic quilting cotton, or some left over material from another project.
Please wash and dry the PUL and the cotton before using. They will shrink at different rates, so we want to preshrink them. Also, when choosing your PUL, I suggest BabyVille PUL (originally designed to make a water resistant outer layer to homemade reusable diapers. I choose this brand because it is BPA, lead, and pthlalate-free. This means a nice and safe product for you and your family.
First things first, I had to make myself a new pattern. I took used iron-on interfacing (because it's stiff). you can use heavy paper, extra fabric, anything you choose that will work well for you.
I made a rectangle 7 inches by 14.5 inches
And then I gently rounded the top, it's ok to do freehand, if it's off later, you can just clean it up a bit with some scissors.
Now, lay this pattern down on your PUL and cut around it. If you do not have a rotary cutter, use a marker or colored pencil (or an eyeliner pencil, that'd work) to mark around it so you can cut it out with scissors. I use my ruler on the straight edges so that I get a nice clean cut with my rotary cutter. But it is inevitable you will start eating away at the original template...it is, afterall, easy to cut through.
My children picked out their own fabric for the bags. You may notice they don't necessarily match, but that's ok. It just makes it more fun.
Cut out as many of the patterns on the PUL as you would like bags. Now repeat with the cotton. Each bag will have an inner layer, and an outer layer.
When this is done, we are going to "pin" the wrong sides of the fabric together. The laminated portion of the PUL will not be visible when the bag is open or closed.
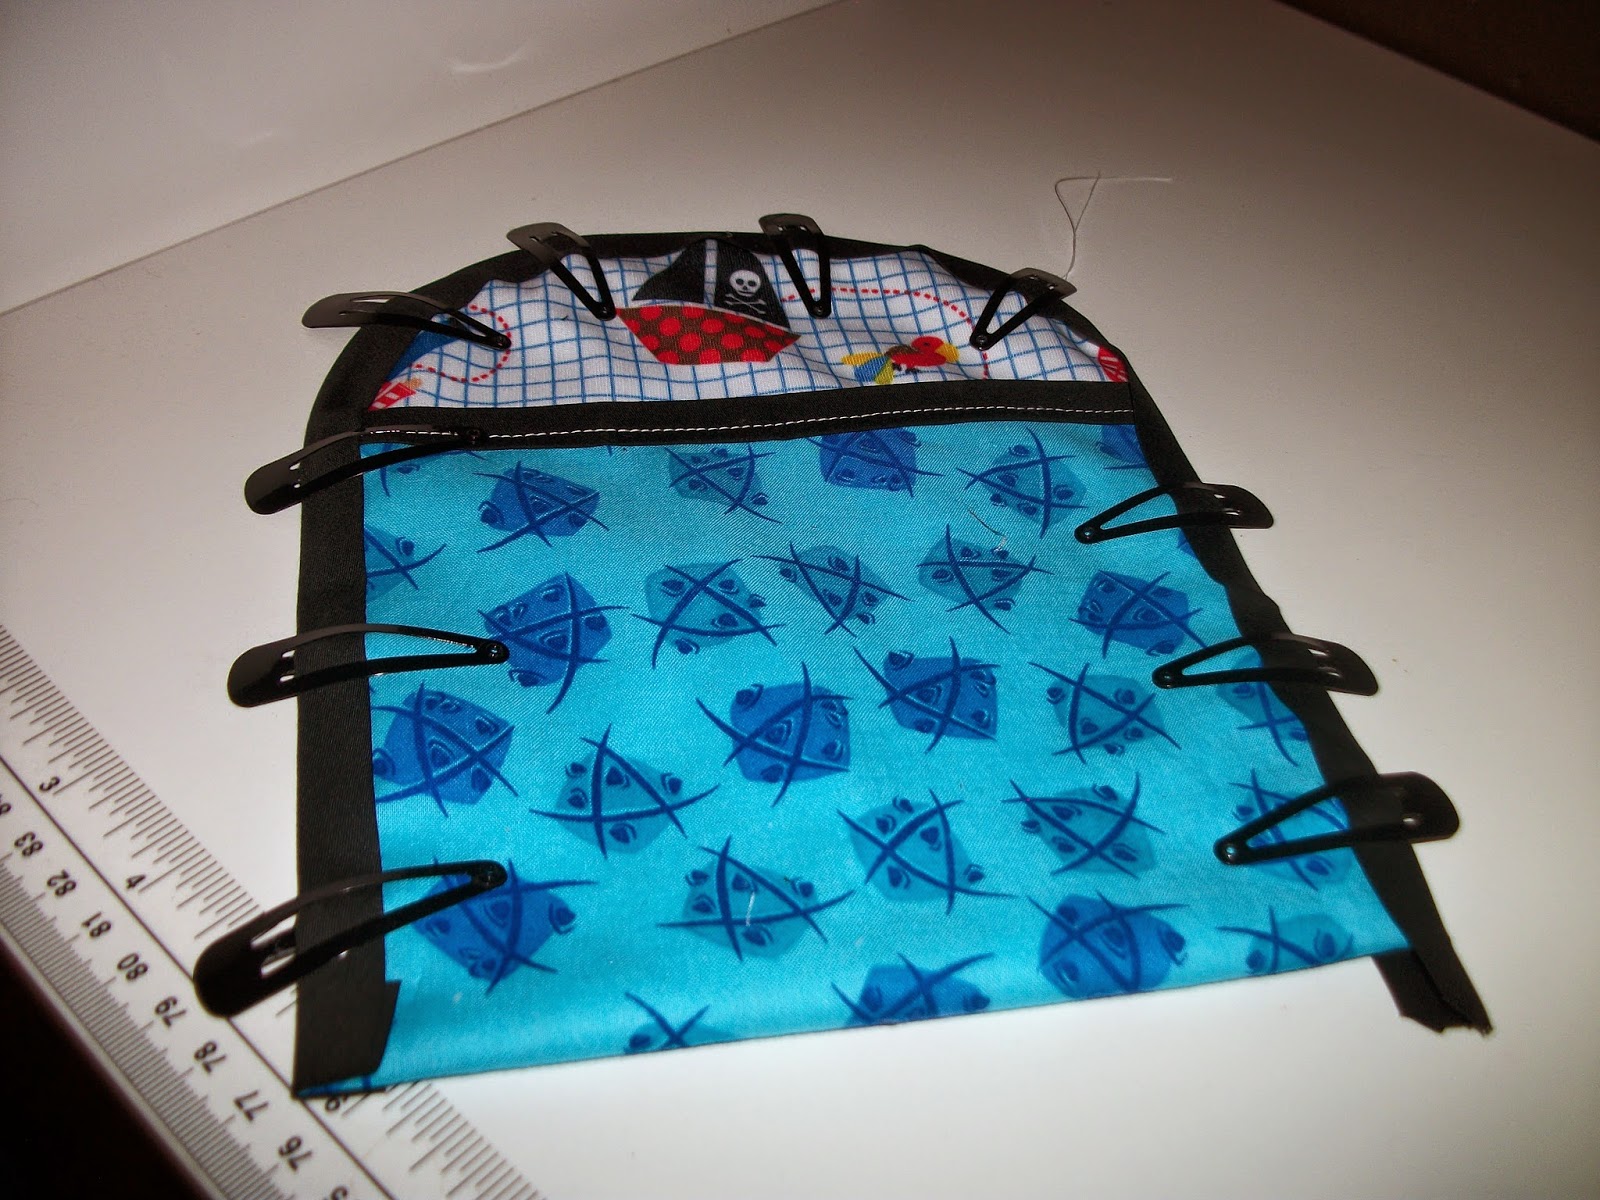
We will start with the bottom straight edge. I do not use pins. PUL is so difficult to pin, it has a bit of stretch and will get out of proportion, and it is difficult to get the pin through anyways. So, I use hair clips.
First I will show you how to do this on a regular sewing machine (or you could do by hand, ick). We will be using double fold bias tape as the edging when using the sewing machine. Luckily, I have just a tiny bit on hand.
Tuck the two layers into the fold of the bias tape, and hold it all into place with these nifty hair clips! Now you can start to sew down the bias tape, staying close the the left edge of the bias tape.
Now it should look like this.
Trim off the excess bias tape so it's even with the edges of the fabric.
Now, fold up the bottom edge, towards the curved edge. Bring it to about an inch from where the curve that we made starts.
Sew the bias tape down, again remaining close to the left edge as you sew.
Your bag is almost done, now it's just time to add a way to keep it closed. You can either use snaps or velcro at this point. It's up to you.
How cute!
If you own a serger, and want to make these more quickly. We will follow basically the same step. Put the two parts together (wrong sides together). Serge around the bottom flat edge, fold it up to about an inch under where the fabric starts to curve, and serge around the raw edges, and add a closure of your choice.
Either way they are cute, and super functional. They are also big enough to hold a sandwich with room to spare. You can use your scraps to make smaller snack bags as well. Even though we have oversized them, they will easily fit in lunch boxes. When you or your child is done eating, the cotton on the outside doubles as a napkin. Woohoo!
Until next time,
-Sue


No comments:
Post a Comment